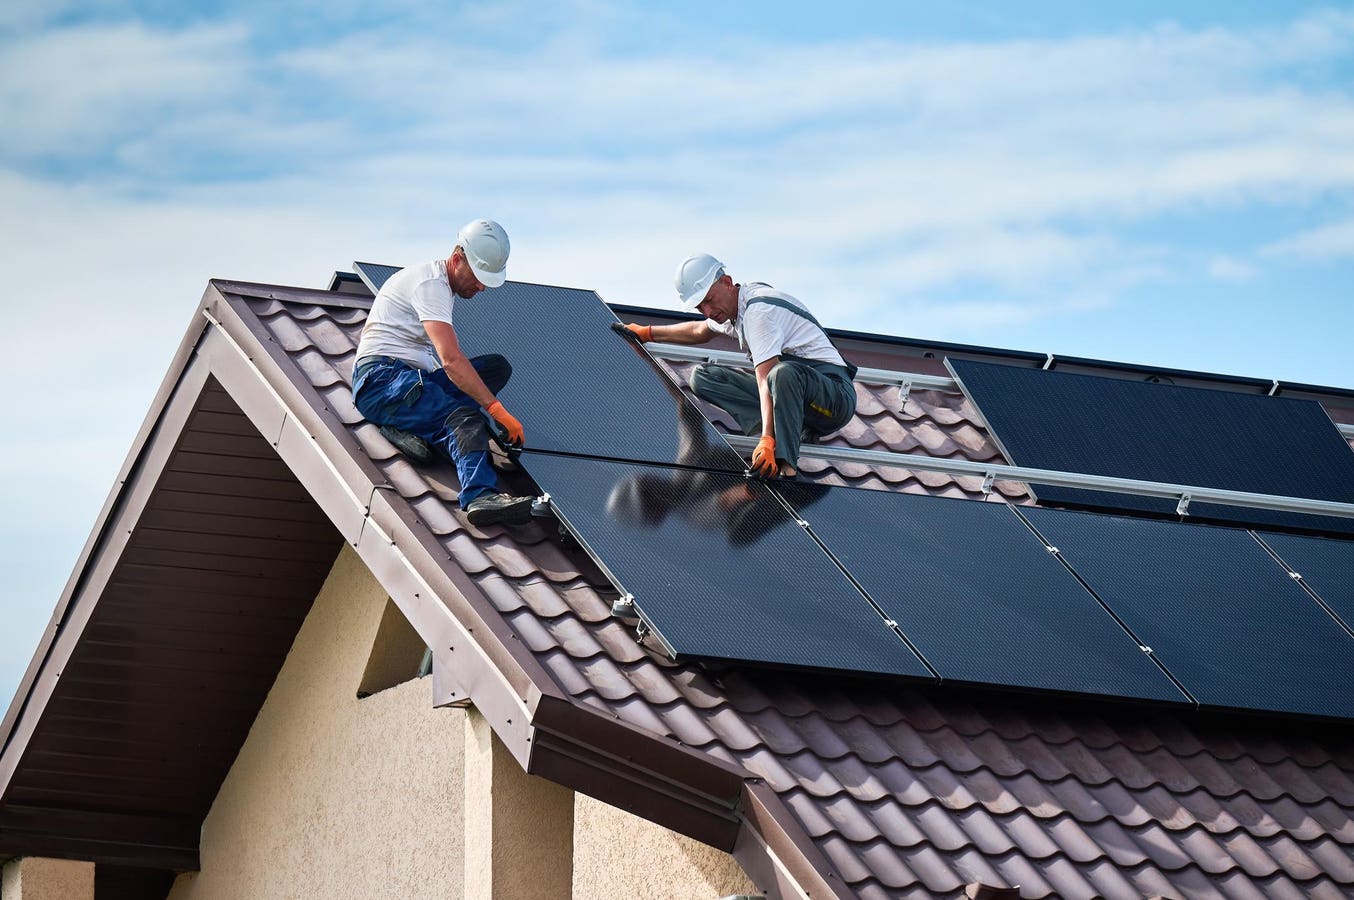

Workers installing photovoltaic solar module outdoors.
getty
Rooftop solar has become one of the fastest-growing clean energy solutions in the world, yet many homeowners still stumble at the most important stage, the actual planning and installation. A misstep here can turn a promising investment into decades of underperformance and financial regret. This guide is designed to remove that risk by walking you through every step, from the first energy audit to installation of your system.
In “Residential Solar Power How It Works and When It Pays Off,” we broke down the financial case for solar. Then we we explored the panels, batteries, and key questions to ask your solar provider in “What You Need to Know About Solar Power Technology Before Installing”. This article builds on those foundations to give you a clear, step-by-step process that empowers you to make confident, cost-effective, and resilient choices for your home to make solar savings even more impactful.
Step 1: Conduct a Home Energy Audit Before Your Solar Installation
Solar savings start with efficiency. As a homeowner who is ready to install a solar, reducing your waste of energy lowers the size and cost of the system that you need. An energy audit reveals how you are currently using energy, where your home is wasting power and how you can do better. As a result, fixing those issues shrinks your solar needs and speeds up your payback. According to the U.S. Department of Energy, professional energy audits can reduce household consumption by 5% to 30%. Starting here with an energy audit ensures every dollar you invest in solar works harder.
Step 2: Assess Your Roof and Solar Potential
Even the most advanced panels cannot overcome structural issues, poor orientation or shading. In the U.S. and Puerto Rico, tools like Google’s Project Sunroof estimate rooftop potential by mapping sunlight exposure by simply entering your address. For other regions, online tools like Global Solar Atlas can provide you with an overview of solar energy potential for a site or region. Ensuring your roof is structurally sound and sunlit sets the foundation for an efficient system.
Step 3: Define Your Energy Needs Before Solar Installation
Getting the size right is critical. Too large a system means overspending on panels, while undersizing leaves you with high utility bills. Sizing a system means matching your electricity use with the right number of solar panels and the right amount of battery storage.
The first step is to review the last 12 months of electricity bills to calculate your average monthly use. Then consider future needs, for example, an EV, more air conditioning, or even a growing household. Planning ahead ensures your system remains effective for years.
You can calculate the number of panels from the simple formula below:
Number of panels = Monthly electricity use (kWh) ÷ [Average daily sun hours × 30 × Panel wattage (kW)]
The panel wattage is how much power one panel produces under standard conditions. Today, most residential panels are rated at 400 watts (0.4 kW).
Example: A household using 1,000 kWh per month, with 5.5 sun hours/day and 400 W panels, would need about 15–16 panels.
Battery capacity to supplement your system can be estimated with this formula:
Battery capacity (kWh) = Daily electricity use (kWh) × Number of backup days desired ÷ Depth of discharge
Depth of discharge (DoD) is how much of a battery’s total capacity you can safely use without shortening its life. Lithium-ion batteries allow up to 85% DoD, while lead-acid batteries typically allow about 50%.
So while professional solar installers use advanced design software to size systems with precision, the formulas above represent the foundation of those calculations. Homeowners can use them as a simple check to validate whether an installer’s proposal makes sense. Free tools such as NREL PVWatts, EU PVGIS and the EnergySage Solar Calculators can assist you in your validation or estimation process as well.
Solar Panel House Roof Investment.
getty
Step 4: Review the Economics Of Your Solar Project
Solar is an investment, and the economics must add up before you sign a contract. That means looking beyond the headline price and understanding how quotes, incentives, and financing options combine to determine your true payback.
Start by collecting at least three quotes from qualified installers. According to EnergySage, homeowners can save up to 20% by comparing bids, since equipment, warranties, and labor costs often vary. In markets with fewer installers, shopping around is even more important to avoid inflated prices.
Next, factor in incentives. Grants, tax credits, or net billing programs can significantly reduce your system’s upfront cost and shorten the payback period.
Finally, evaluate financing. Paying cash typically offers the quickest return, but loans, leases, or power purchase agreements can reduce the upfront burden and spread costs over time. The key is to treat solar not just as a technology purchase, but as a financial plan. When you align quotes, incentives, and financing, a large expense transforms into a long-term asset that reliably delivers savings and resilience.
Step 5: Solar Installation, Grid Connection, and Inspection
Once your system design and financing are in place, installation typically takes one to three days depending on the complexity of your roof and equipment. After installation, the system must pass inspections from local authorities to confirm safety and compliance with building codes. The final step is grid connection, where your utility reviews the setup, approves interconnection, and issues permission to operate. Without this process, your system cannot legally feed power into the grid or receive credit for exported electricity. Bear in mind that this step is country specific and may not apply in all locations.
Installation of solar panels on the roof of a house, maintenance and cleaning with vertical works
getty
Step 6: Monitoring, Review, and Maintenance Of Solar System
After your system is live, ongoing monitoring is essential to ensure it performs as projected. Most systems include monitoring software and a display panel that tracks output, efficiency, and any faults in real time. Reviewing performance regularly helps confirm that savings align with installer estimates and allows for early detection of underperformance. Maintenance needs are relatively light but include keeping panels clear of debris and ensuring wiring and inverters remain in good condition. Consistent monitoring and minor upkeep protect your return on investment and extend the life of your system.
Going solar is more than a home upgrade; it is a financial decision, an energy strategy, and a commitment to resilience. Each step you take, from auditing your energy use to monitoring long-term performance, protects you from overpromising and ensures your system delivers the returns you expect.
With the right information, clear calculations, and careful review of installers and financing, you can turn rooftop solar into one of the smartest investments your household will ever make, cutting costs, adding value to your property, and gaining control over your energy future.